Ball joint and tie rod end removal doesn’t have to be a pain in the rear! Experience teaches us many tricks for easy ball joint removal or other difficult tasks we come across.
In today’s post I want to share with you an easy way to remove your ball joint or tie-rod end. This method will prevent you from damaging the boots. No, I am not talking about using a traditional pickle fork or swinging a 10lb sledge hammer to smash the knuckle (which often results in a home-run hit on some other suspension part for frustrated newbies). I prefer to use a simple tool available at most hardware / automotive stores. The tool is called a ball joint separator.
I picked this tool up ages ago at a Harbor Freight for under $20. It’s been a savior for being able to reuse ball joint ends and not tearing my boots. This tool is a breeze to use as I demonstrate in the video below. It helps ensure that I will not damage the boot on either joint. It is fully adjustable for larger studs. To use it simply tap the pointed end (or lower jaw) in between the boot and your knuckle and place the top of the jaw on the stud. Then, take a wrench or your impact and crank the nut down until it “pops”. Make sure you wear goggles for safety.
BALL JOINT / TIE ROD RE-INSTALLATION PRO TIP
Some folks I talk to have difficulty reinstalling a ball joint or tie rod end when they go to tighten the castle nut. Many notice that their stud starts to turn on them before they can get the castle nut tight enough.
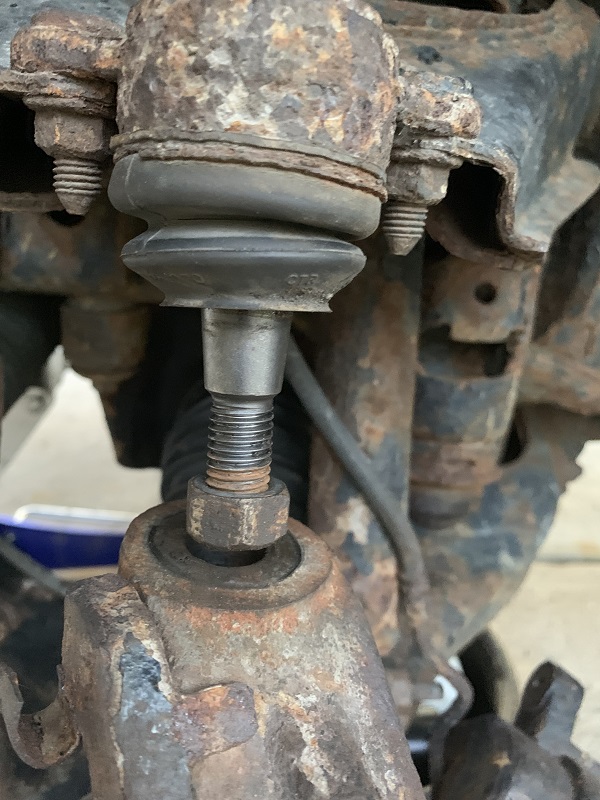
An easy fix to prevent your ball joint / tie rod end stud from turning is to smack the back of the joint with a hammer so that you help drive the stud into the hole. You can also try clamping the surface of your ball joint stud and your knuckle so that they squeeze together. Another trick is to try jacking up underneath the control arm to compress the stud into the knuckle. What do I mean by that? If you look at the photo below and at the stud on your ball joint / tie rod end, you’ll notice it is tapered. If you apply enough pressure to push that stud into the hole, it will tighten as you bolt the castle nut down and eliminate your stud from spinning through friction. You don’t need much friction either, typically a clamp or vice grip makes quick work of the job.
Note that I had the nut on the stud before putting it into the knuckle in the below picture. It was there so I wouldn’t lose it while working. As you can imagine that has to be removed before I push the stud through the hole.

Stay tuned for our up coming post on wheel bearings which will be our interlude into partially rebuilding the front end of our Chevy Truck – a 2008 Chevy Colorado.
If you have any questions or articles you would like us to cover in the future, send us a message through our contact us page

